Window
How create your first window
1. Create a new class that will represent your UI window. Make your class inherit from Window.
Here we are also creating the controller class for our window. This is where we can potentially register more things to the window, like assigning a shortcut.
[GlobalDependency(RegistrationMode.AsEverything)]
public class MyFirstWindow : Window
{
    public MyFirstWindow() : base(new LocStrFormatted("Test Window"), true)
    {
    }

    [GlobalDependency(RegistrationMode.AsEverything)]
    public class Controller : WindowController<MyFirstWindow>
    {
        public Controller(ControllerContext controllerContext) : base(controllerContext)
        {
            controllerContext.UiRoot.AddDependency(this);
        }

        public void Open() => this.ActivateSelf();
    }
}
2. Assign a shortcut to open the window.
Great we have a window but we can't open it yet. Let's assign a shortcut to open it.
In the Controller class, let's register a shortcut:
2.1 Create shortcuts map class
First, we need a place to register all our shortcuts. This will make it easier for us to reference them later.
public class ShortcutsMap
{
    public static ShortcutsMap Instance { get; } = new();

    [Kb(KbCategory.Tools, "open_train_management_window", "Open train management", "Open train management", true, false)]
    public KeyBindings OpenTrainsWindow { get; set; } = KeyBindings.FromKey(KbCategory.Tools, ShortcutMode.Game, KeyCode.F8);
}
Back in our controller, we can we register the shortcut:
controllerContext.InputManager
                .RegisterGlobalShortcut(_ => ShortcutsMap.Instance.OpenTrainsWindow, this);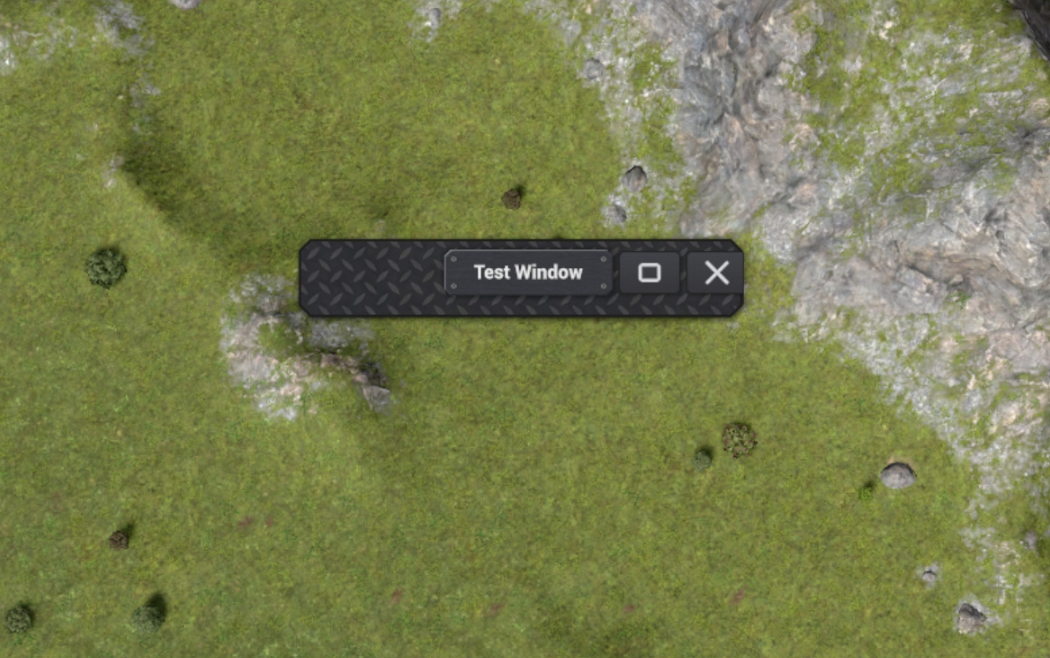
2.2 Customize the window
Let's give our window a size. In the constructor of our Window class:
public MyFirstWindow() : base(new LocStrFormatted("Test Window"), true)
{
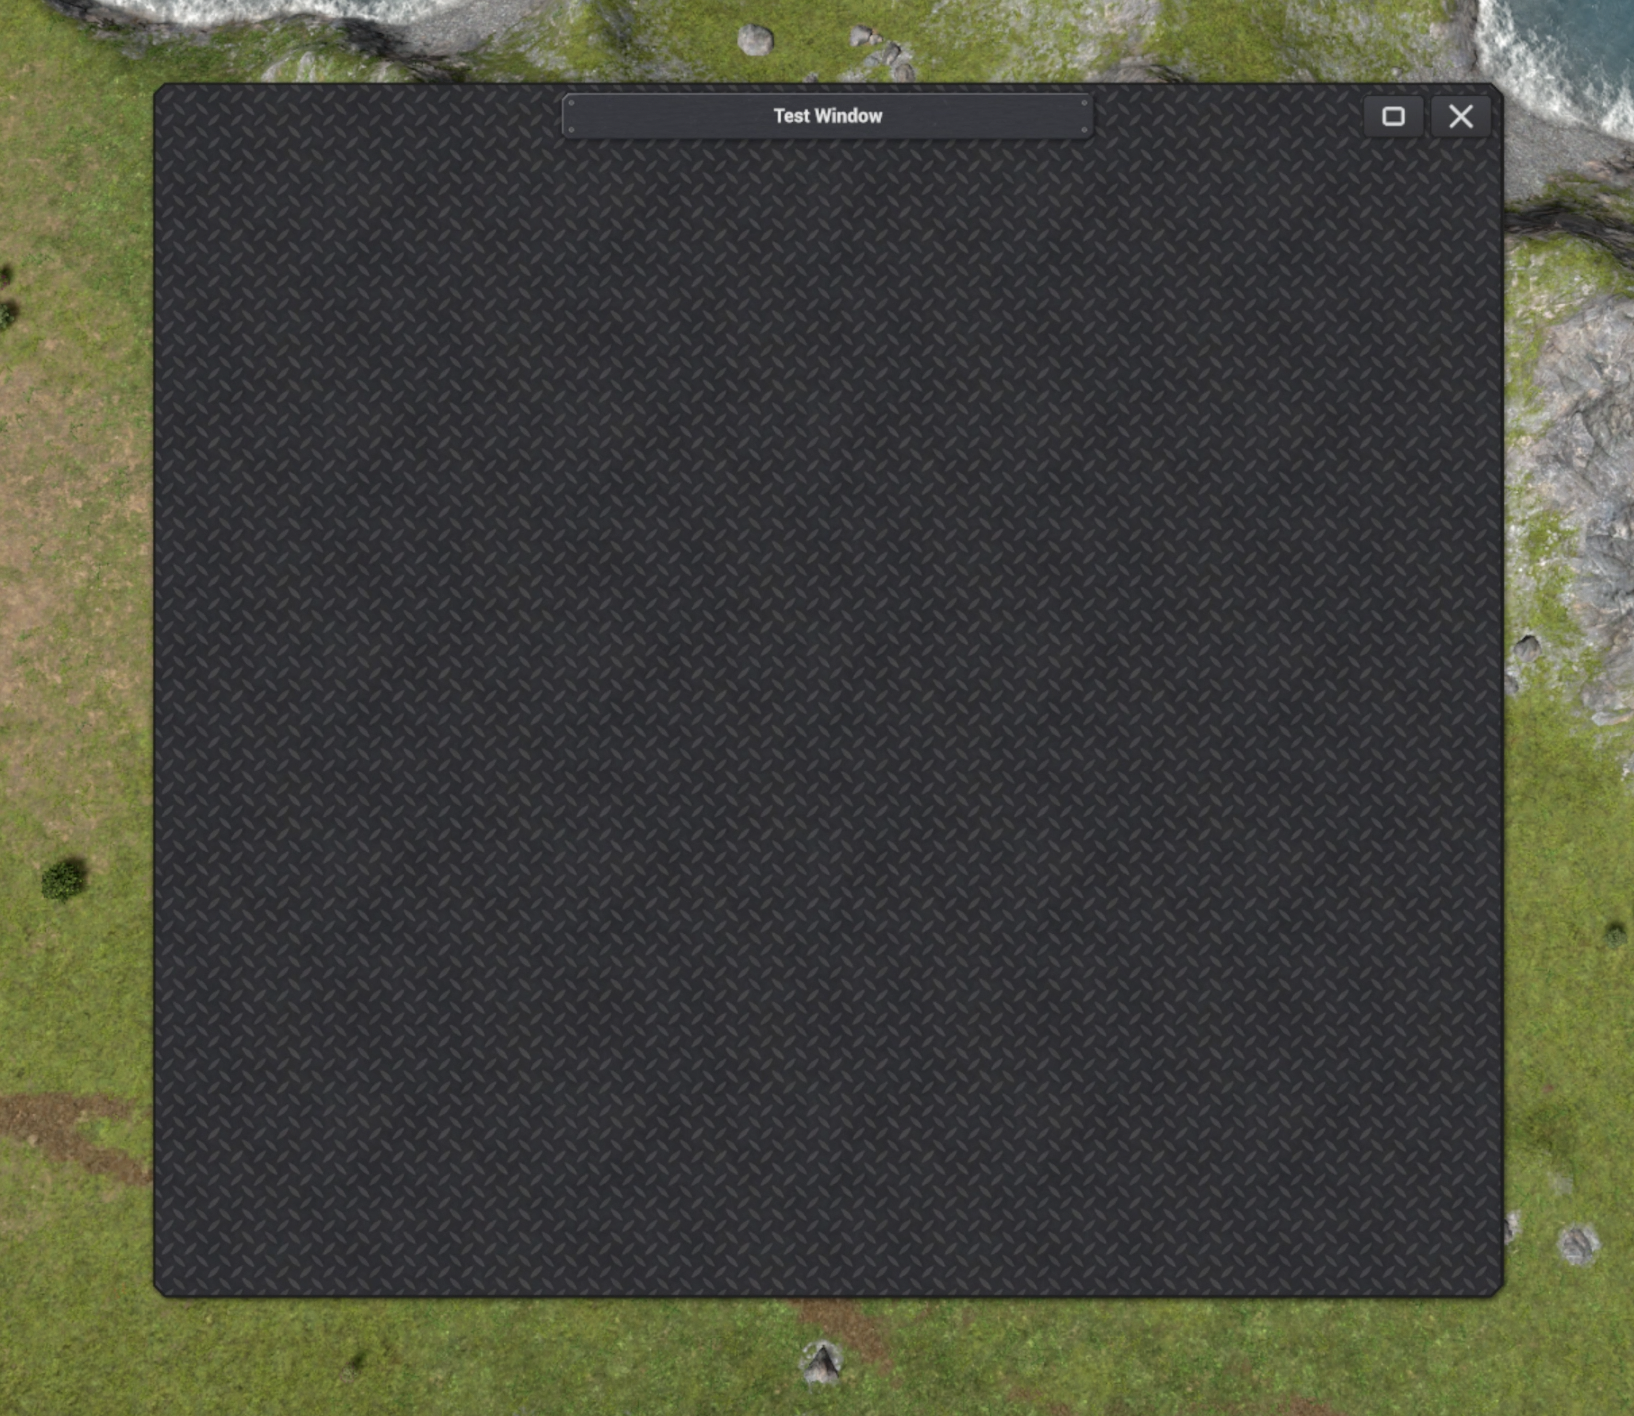
WindowSize(1000.px(), 900.px());
}We will learn about a lot of customizations in a different chapter.
4. Open the window
You can now go in game and press the shortcut to open the window. The window will only have a title and an empty body for now.
Here is how it looks: